


This four-part blog series is exploring how to deploy a local Sitecore instance to Azure. We’ve already covered setting up your environment, creating payloads, and creating the web deploy package. Now we’ll do the final deployment to Azure.
DEPLOYING TO AZURE
To deploy to our Azure environment, we will use MSDeploy. We will provide the publishing profile, which includes the Azure credentials and target directory information. Documentation on MSDeploy such as rules and parameters, can be found here.
1. Downloading Publish Settings File
Sign in to the Azure portal.
Look for the resource target (web app service) you want to deploy to.
Select the service and click the “Get publish profile” button under the Overview section.
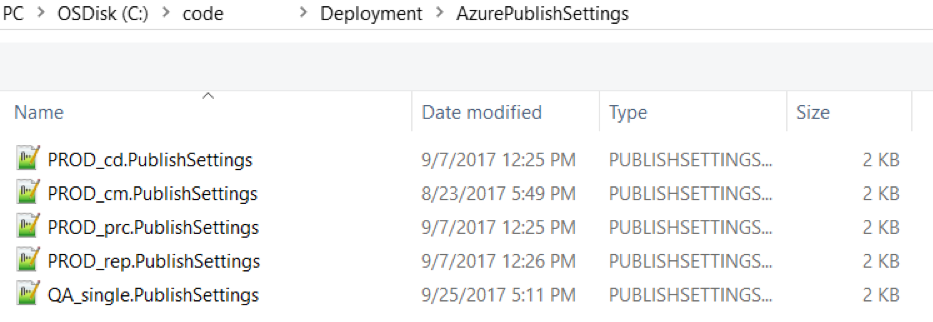
Save the file under /Deployment/AzurePublishSettings, specifying which role it corresponds to.
Do this for all your target roles:

2. Run the MSDeploy Command From PowerShell
We use MSDeploy because it is very useful for just updating the files we need to update and deleting the ones we no longer need, all without touching the databases.
Open PowerShell with admin privileges (make sure the modules load correctly).
Run the following command:
$UnpackDirectoryName = "C:\Deployment\PackagedWDP\cm.scwdp"
$MSDeployPath = "C:\Program Files\IIS\Microsoft Web Deploy V3\"
$PublishSettingsPath = "C:\Deployment\AzurePublishSettings\PROD.cm.PublishSettings"
[Xml]$publishsettingsxml = Get-Content "$PublishSettingsPath"
$ProfileSiteName = $publishsettingsxml.publishData.publishProfile[0].msdeploySite
echo "web site name: $ProfileSiteName"

$ProfileUsername = $publishsettingsxml.publishData.publishProfile[0].userName
echo "user name: $ProfileUsername"

$ProfilePassword = $publishsettingsxml.publishData.publishProfile[0].userPWD
echo "password: $ProfilePassword"

$ProfileComputerName = $publishsettingsxml.publishData.publishProfile[0].publishUrl
echo "computer name: $ProfileComputerName"

& ($MSDeployPath+"msdeploy.exe") `
-source:contentPath="$UnpackDirectoryName\Content\Website" `
-dest:contentPath=$ProfileSiteName,computerName=
https://$ProfileComputerName/msdeploy.axd,userName=$ProfileUsername,password=$ProfilePassword,authType=Basic `
-verb:sync -useChecksum
The “-verb:sync” specifies that only the files that exist within the “/Content/Website/” local directory will exist at the target. All other files will be deleted.
The “-useChecksum” command helps subsequent deployments run faster because only those files whose checksums are different will get updated.
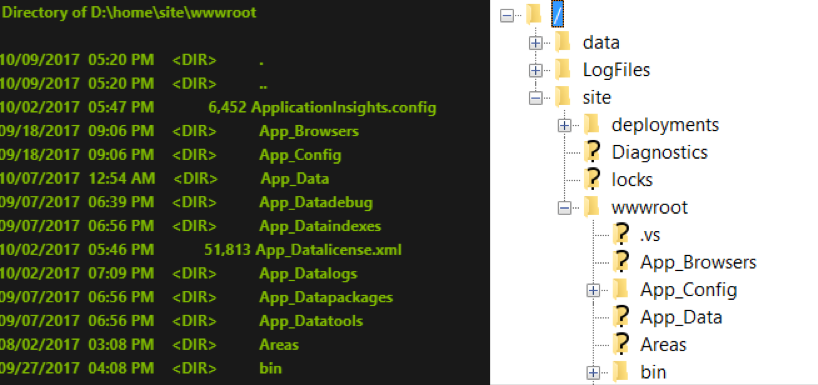
This is how my final directory structure looks like on my Azure web app. The left is from a console view, the right from an FTP view:
DEBUGGING AND MISCELLANEOUS ERRORS
In this section I will share some of the most common errors I encountered. Hopefully it will help you solve any problems you run into.
1. My transformations don’t happen or I get errors.
Make sure your target payload directory path and file name are correct.
Test your transforms using this online tool.
Make sure your transforms have “<?xml version=”1.0″?>”.
Verify transforms have “xmlns:xdt=http://schemas.microsoft.com/XML-Document-Transform”.
Verify transforms match file name and location exactly (with .xdt).
2. My deployment gets stuck deleting/updating or errors out because files are being used.
Just rerun the deploy command. If you select the checksum option it will restart where it stopped.
3. During WDP creation, an error regarding log file access denied occurs.
Sometimes Sitecore locks files, so you should do an iisreset or use a tool like Iobit Unlocker to unlock the files in use.
4. I get an “Access to path C:/…/ is denied” error after deploying.
This is not a permissions issue but a bad path issue.
Look at the path of the error, and search in your extracted scwdp directory for that path. Make sure that path is what you intended and that it exists in the Azure instance by trying to access it via Azure Portal console.
Drive letters are important! Azure seems to have non-C: drives, and relative paths don’t work well in my experience.
6. Unicorn does not detect my YML files.
Make sure the transformations for Sitecore Unicorn configuration targetDataStore took place and that it is pointing to the correct path.
Verify that the path exists by trying to access it via the Azure Portal console.
7. When I deploy, the final directory structure is not the same and Sitecore does not load.
Pay close attention to what paths are given to the MSDeploy command, especially the -source:contentPath and -dest:
Congratulations! You have successfully setup your environment to deploy to Azure with Unicorn sync. Even though the process takes several steps, it is very easy to automate. I will leave it up to you to set up continuous integration operations that fit your specific needs.
If this guide was of use to you or someone you know, share it with them. For questions or comments regarding Sitecore development, reach out to us at marketing@credera.com.
Contact Us
Let's talk!
We're ready to help turn your biggest challenges into your biggest advantages.
Searching for a new career?
View job openings